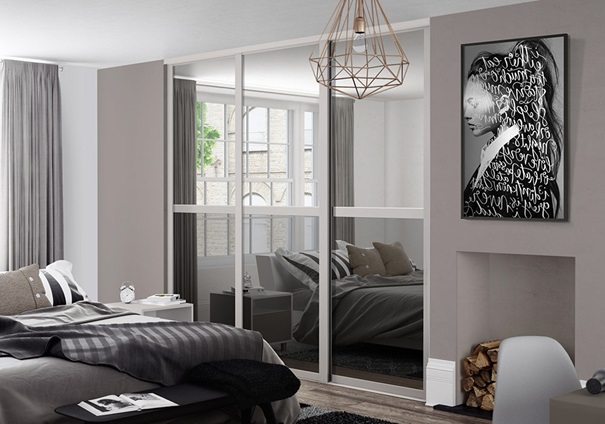
DIY Fitted Wardrobes: How to Build a Wardrobe
At Spaceslide, our expert installation team are here to help install your chosen wardrobes. However, if you’re a fan of the ‘do it yourself’ mentality, you can build your own wardrobes instead. Read on to find our helpful hints and tips to consider when building your DIY fitted wardrobe.

How to Build Your Own Fitted Wardrobe
With easy to construct DIY kits available, our fitted wardrobes are not as difficult to ensemble as they may first sound. However, if DIY isn’t your forte or if you’re worried about whether you’ll be able to, you always have the option of our professional installation service.
Building your own DIY fitted wardrobes can be a rewarding and cost-effective way to add functional and stylish storage space to your home. Fitted wardrobes maximise the use of available space and can be customised to suit your specific needs. Here's a step-by-step guide to help you create your own fitted wardrobes:.
Materials and Tools You'll Need To Create DIY Fitted Wardrobes:
Sliding wardrobe doors
Tracks
Wall liners and end panels (if needed)
Screws
Tape measure
Spirit level
Power drill
Screwdriver
Safety gear (goggles, ear protection, dust mask)
Note: Spaceslide wardrobe kits include doors, tracks and screws
Steps for Building Your Own Wardrobes:
1. Design and Planning:
• Measure the available space where the DIY fitted wardrobes will be installed. Consider ceiling height, width, and depth. Consult our preparing and measurement guide if you need to.
• Decide on the layout of your DIY wardrobe: the number of doors, shelves, hanging space, and drawers.
• Create a detailed plan with accurate measurements and a rough sketch of the design.
• Note, if your space is higher than standard wardrobe sizes, you may need to consider wall liners and end panels to enclose the space and fix your wardrobe doors to the walls.
2. Order Your Materials
• Once you have the design and measurements for your DIY wardrobes, it’s time to order your doors, wardrobe interiors and fixtures.
• You can choose between ready-sized wardrobe kits, or you can order made-to-measure sliding wardrobe doors with the necessary components.
• The wardrobe interiors you choose will depend on how you intend to store your belongings. You may choose storage towers for optimum organisation, or you can choose simple components for an affordable choice.
3. Wardrobe Interior Installation:
• In your desired wardrobe space, fix your chosen wardrobe interiors to the wall, following the manufacturer’s instructions.
• Ensure all shelves and components are level and evenly spaced.
4. Wall Liner and End Panel Installation (optional):
• Fix wall liners to the ceiling and floor to create the opening of your DIY wardrobes. The size of this opening should match the height of your doors.
• Fix an end panel to the end of your opening. This should match the width of your doors.
• You can follow our wall liner installation guide for more information.
5. Attach the Tracks:
• The tracks are essential for the smooth movement of sliding wardrobe doors.
• Measure and mark the correct positions for the top and bottom tracks according to your wardrobe design.
• Use a level to ensure the tracks are perfectly horizontal.
• Attach the tracks securely to the wall using screws, following the manufacturer's instructions.
6. Add the Sliding Wardrobe Doors:
• Carefully lift the doors onto the tracks, aligning the rollers with the tracks.
• Gently slide the doors back and forth to test their movement and ensure they glide smoothly.
• If necessary, adjust the rollers or tracks to make sure the doors are properly aligned and don't stick.
7. Final Adjustments:
• Check the alignment of the doors and ensure they are sitting flush against each other and the tracks.
• Adjust the height and level of the doors if needed by using the adjustable rollers on the bottom of the doors.
• Test the sliding motion of the doors multiple times to make sure they move effortlessly.
8. Test Functionality:
• Open and close the sliding wardrobe doors several times to ensure they operate smoothly and without any issues.
• Check for any obstructions, misalignments, or difficulties in movement.
10. Enjoy Your DIY Wardrobes:
Once you're satisfied with the installation and functionality of your DIY wardrobes, start organising your clothes, shoes, and belongings within the wardrobe's interior. Step back and admire your completed DIY project, which not only adds functionality but also contributes to the aesthetics of your space.
Remember, careful attention to detail during the installation process ensures that your DIY wardrobes will function well and enhance the overall appearance of your room. If you encounter any challenges, don't hesitate to consult the manufacturer's instructions or seek assistance from a professional if needed.